Export Templates for your Corporate Design
This post describes how you can easily use Export Templates with biExport for SAP Analytics Cloud
- to create exports in your Corporate Design
- to fulfil special layout requirements e.g. for Management Presentations or Marketing Presentations
In the following, I will describe
- how you create Export Templates
- how you upload them to the biExport Service
- how you can reference them for your exports
How to create Export Templates
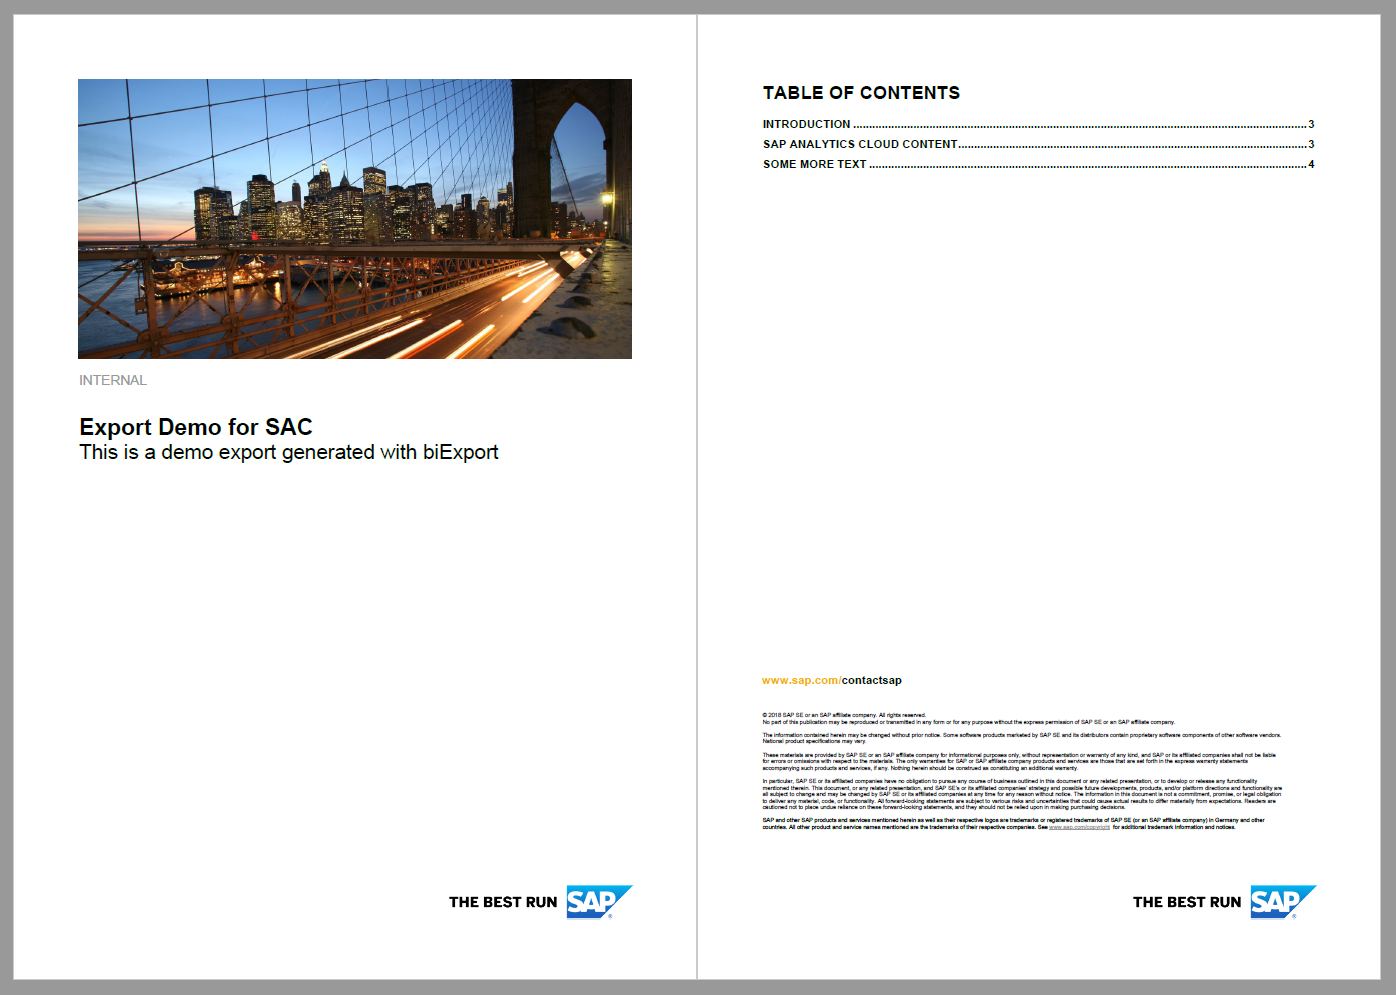
Export Templates are just regular Word, PowerPoint or Excel documents, which contain Export Placeholders that can be interpreted by the biExport Service.
These documents can even be used as Export Templates for PDF exports!
Supported file formats & elements
biExport supports all common file formats:
- For PowerPoint: PPT(X), PPTM, POT(X), POTM, PPS(X), PPTM
- For Word: DOC(X), DOCM, DOT(X), DOTM
- For Excel: XLS(X), XLSM, XLT(X), XLM
Within the documents you can use all elements and objects that are supported by Microsoft Office:
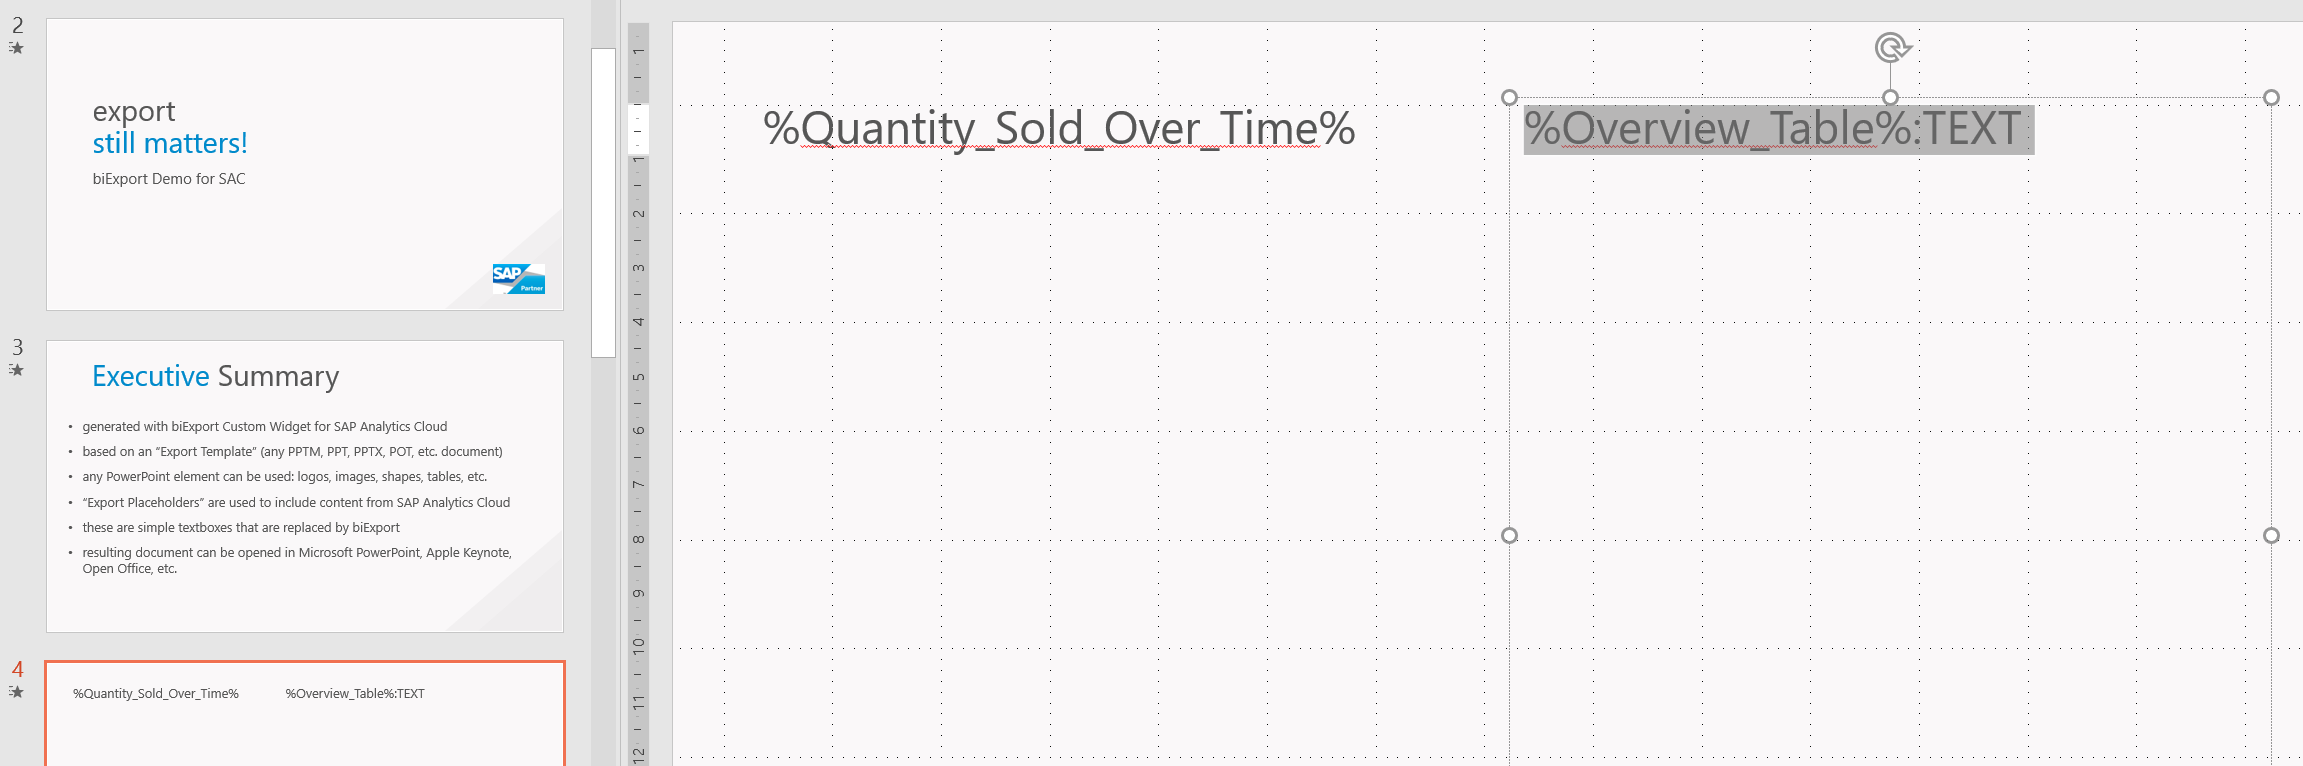
- For PowerPoint: Slide Master, images, shapes, tables, text boxes, etc.
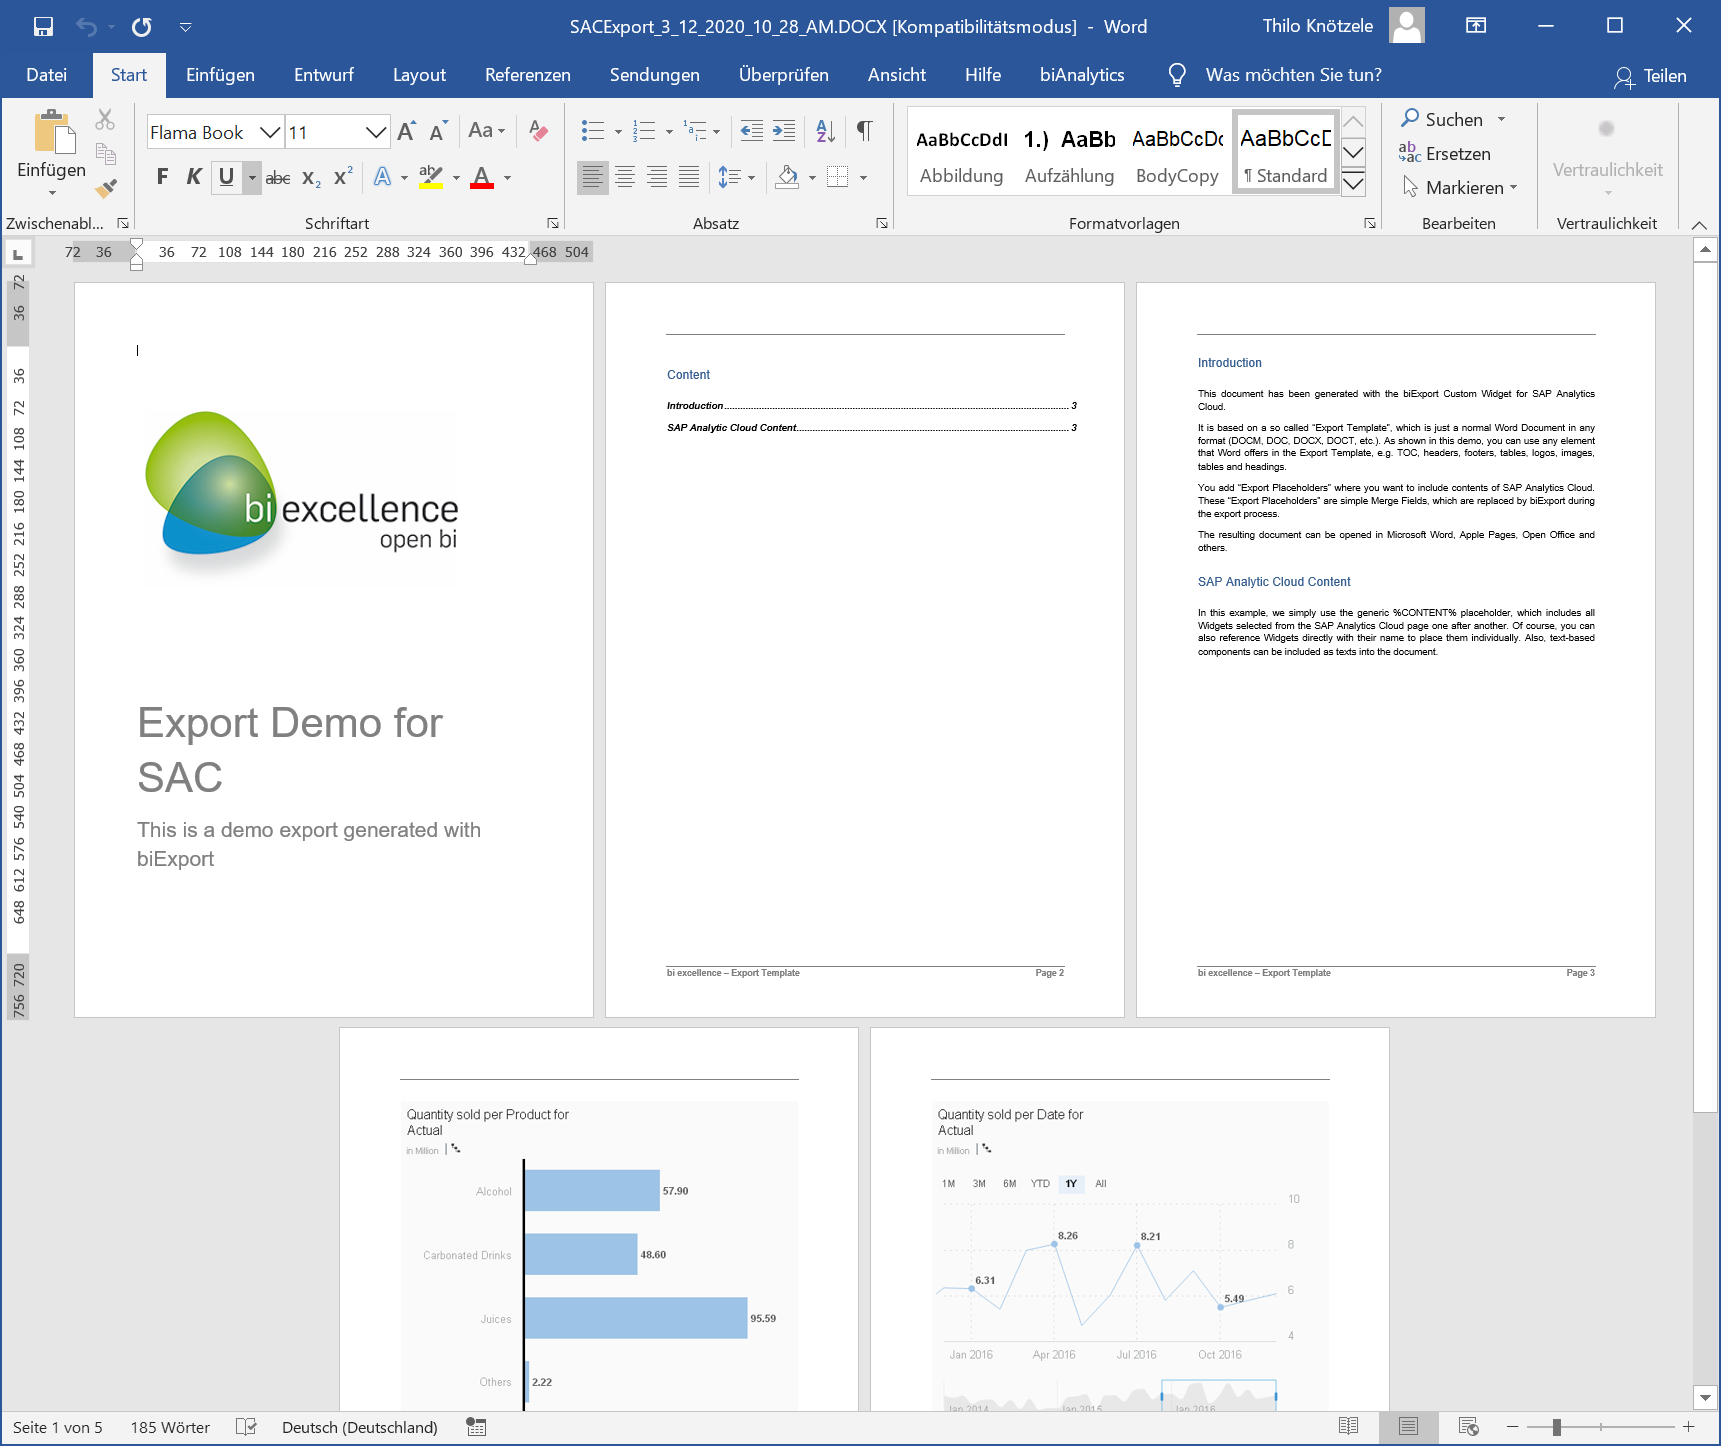
- For Word: TOC, headers, footers, headings, images, tables, section definitions etc.
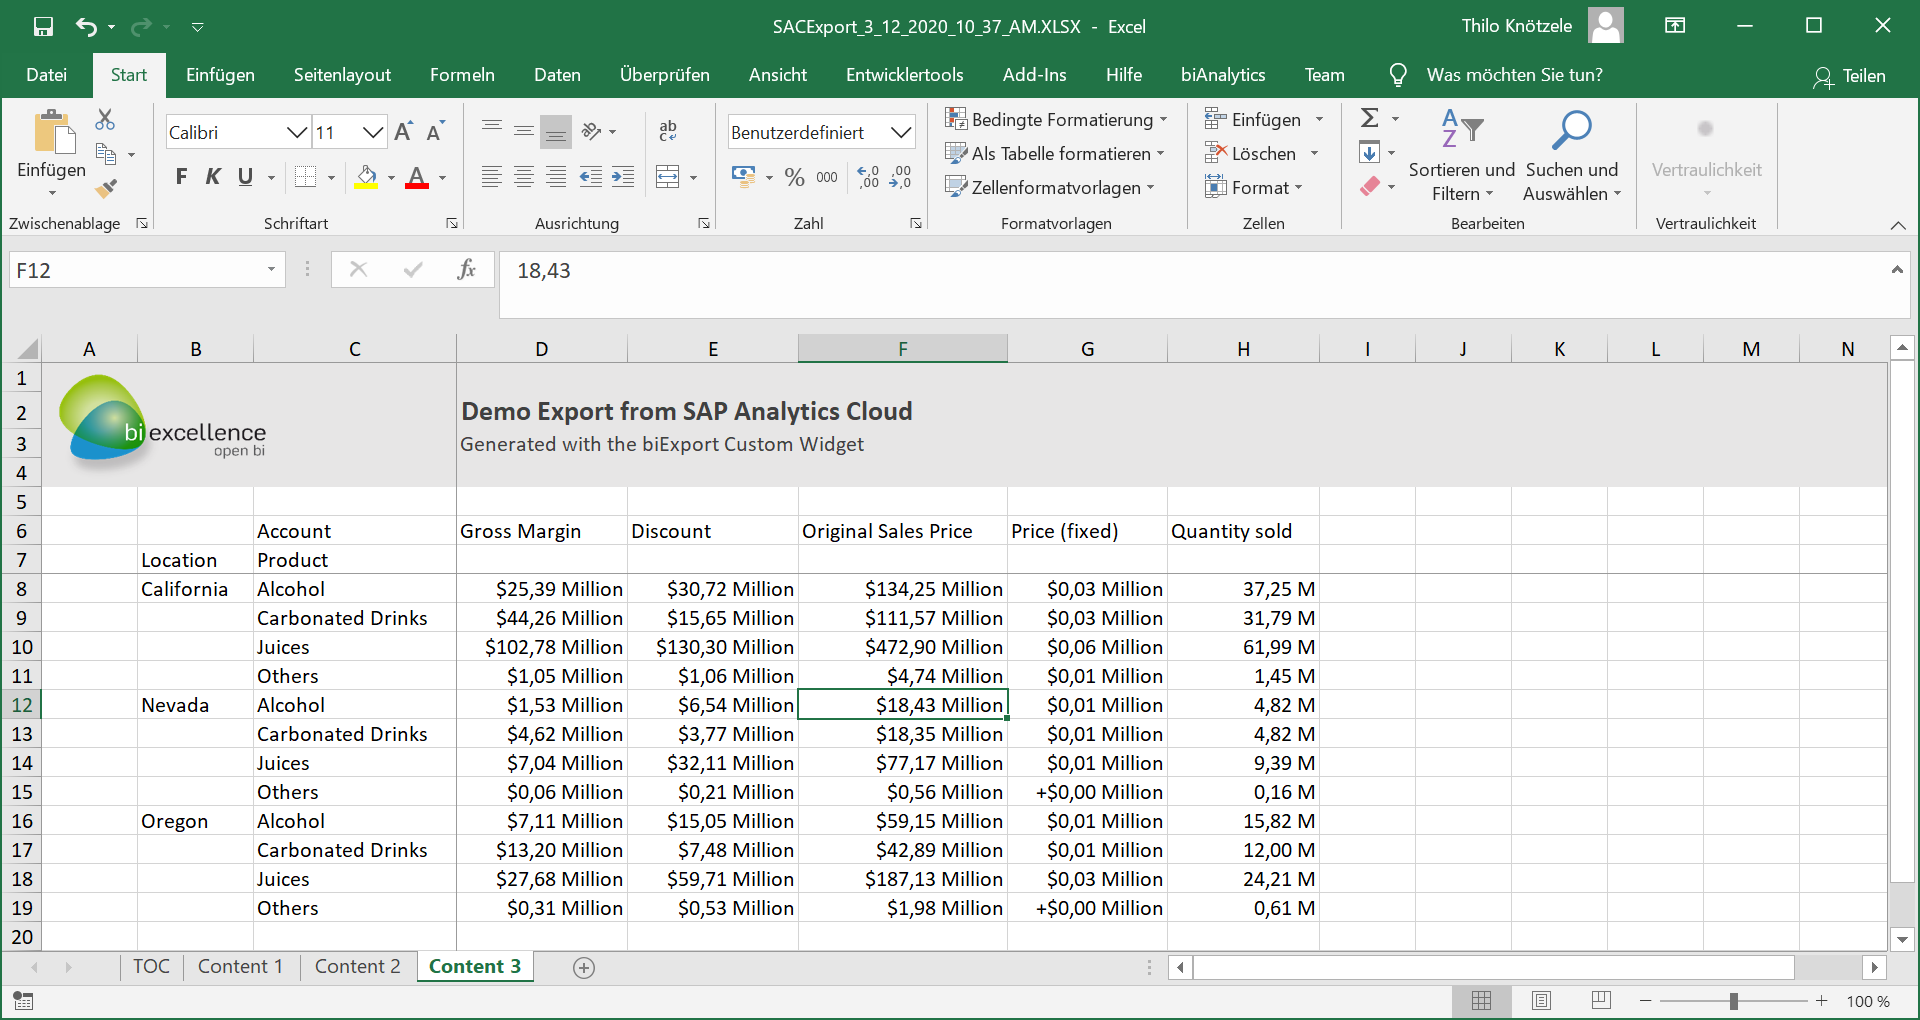
- For Excel: multiple sheets, cell definitions, formulas, etc.
This way you can effortlessly create high quality templates for your export!
In order to use the document with biExport, you simply add Export Placeholders to the document, which can be replaced by the biExport Service.
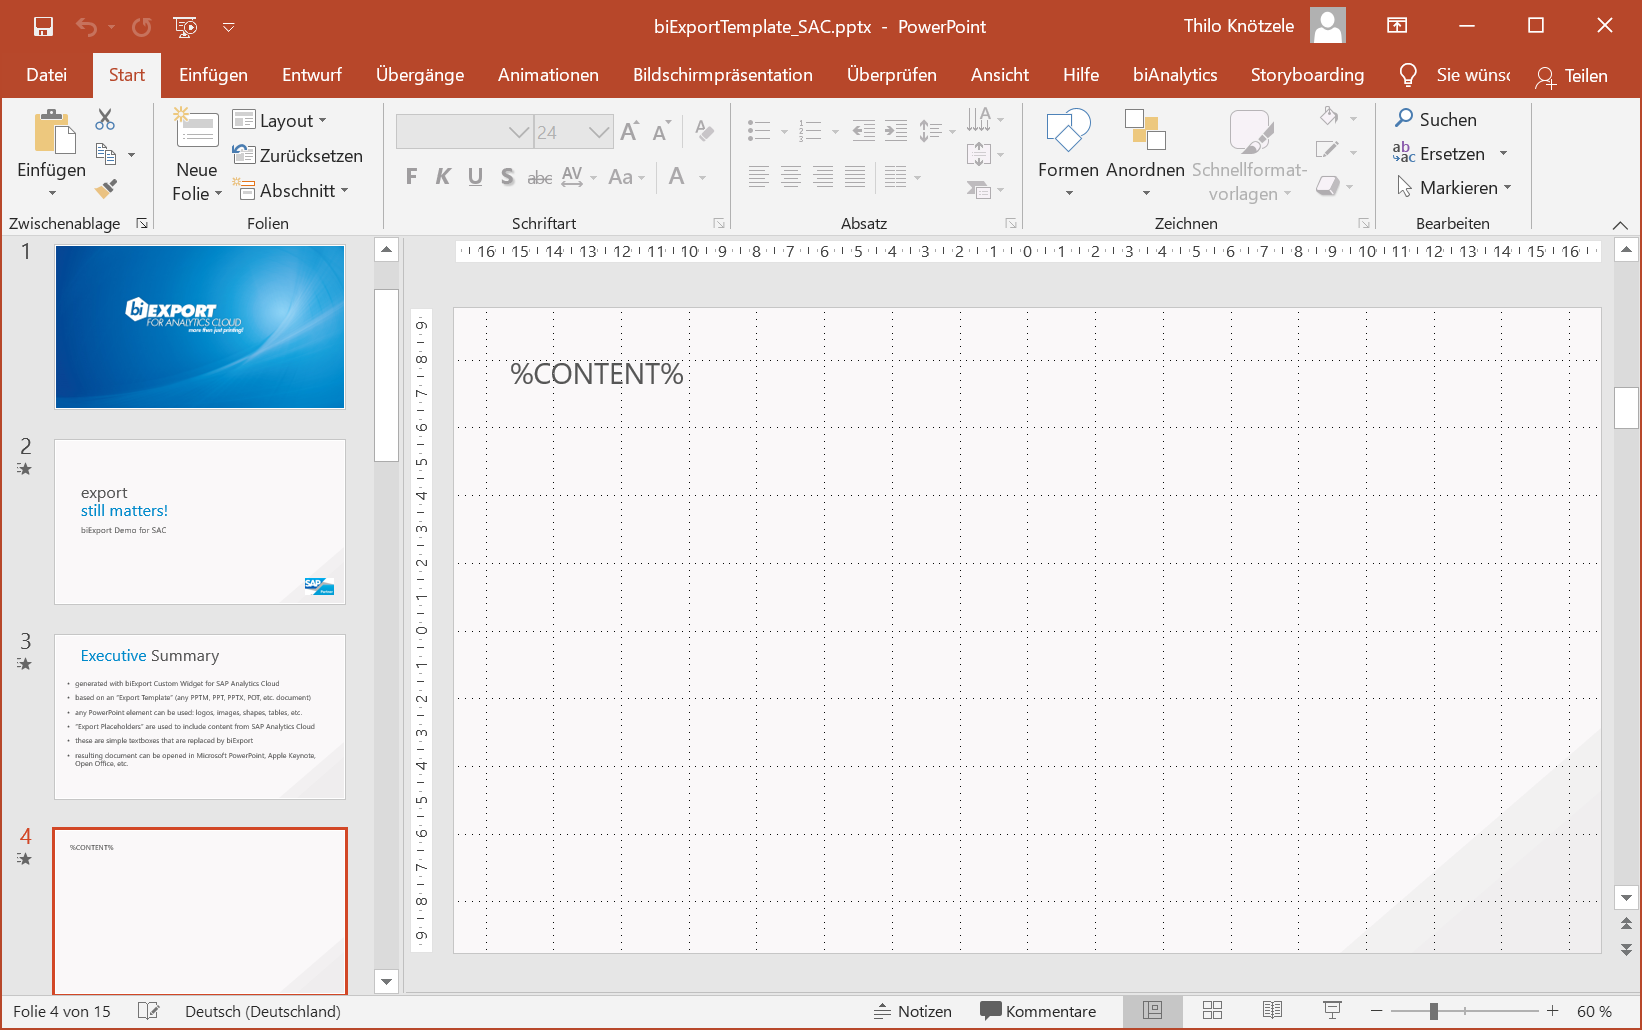
PowerPoint Placeholders
You create an Export Placeholder in PowerPoint as follows:
- Insert a textbox
- Type in the placeholder name surrounded by "%"
Word Placeholders
You create an Export Placeholder in Word as a Merge Field:
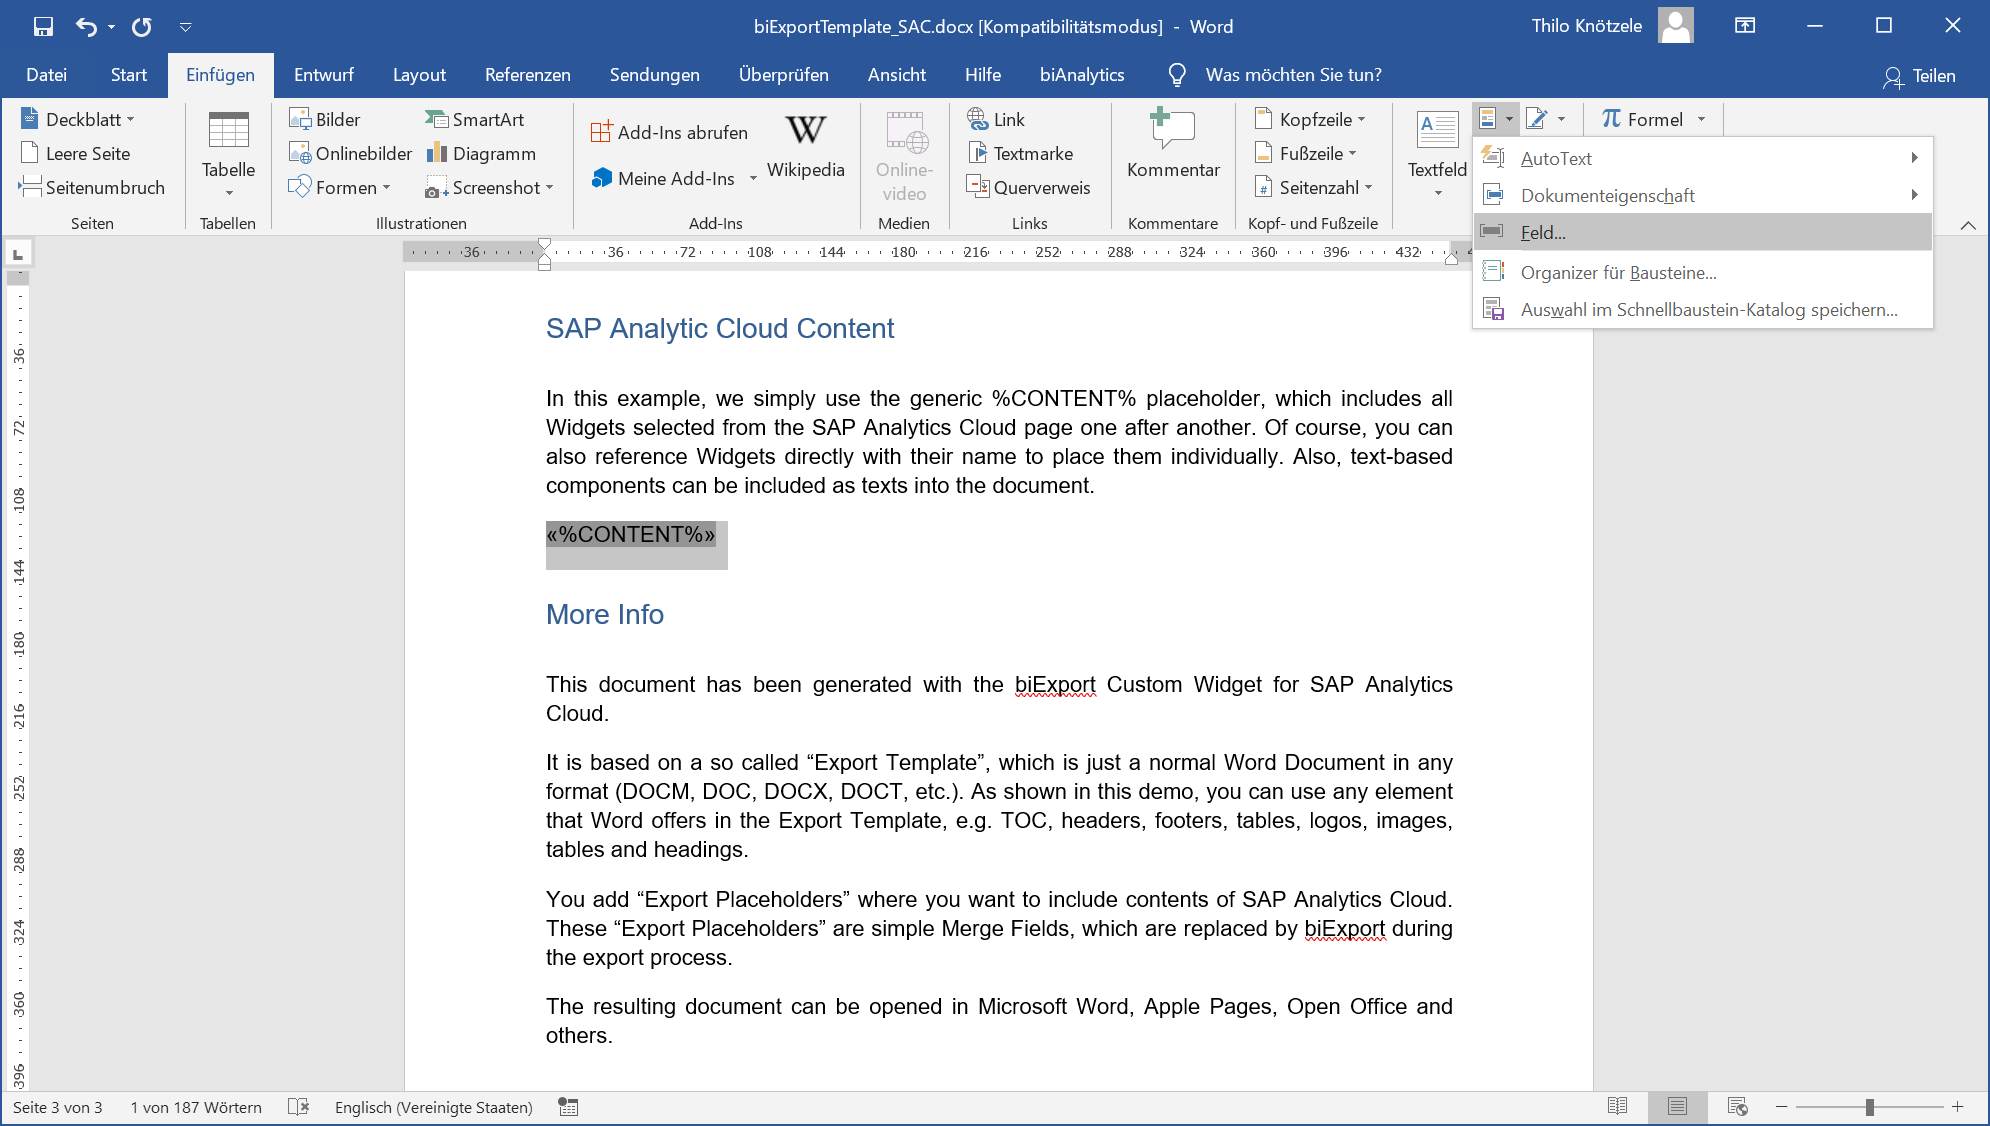
- Navigate to the menu function “Insert”
- Choose “Quick Parts”
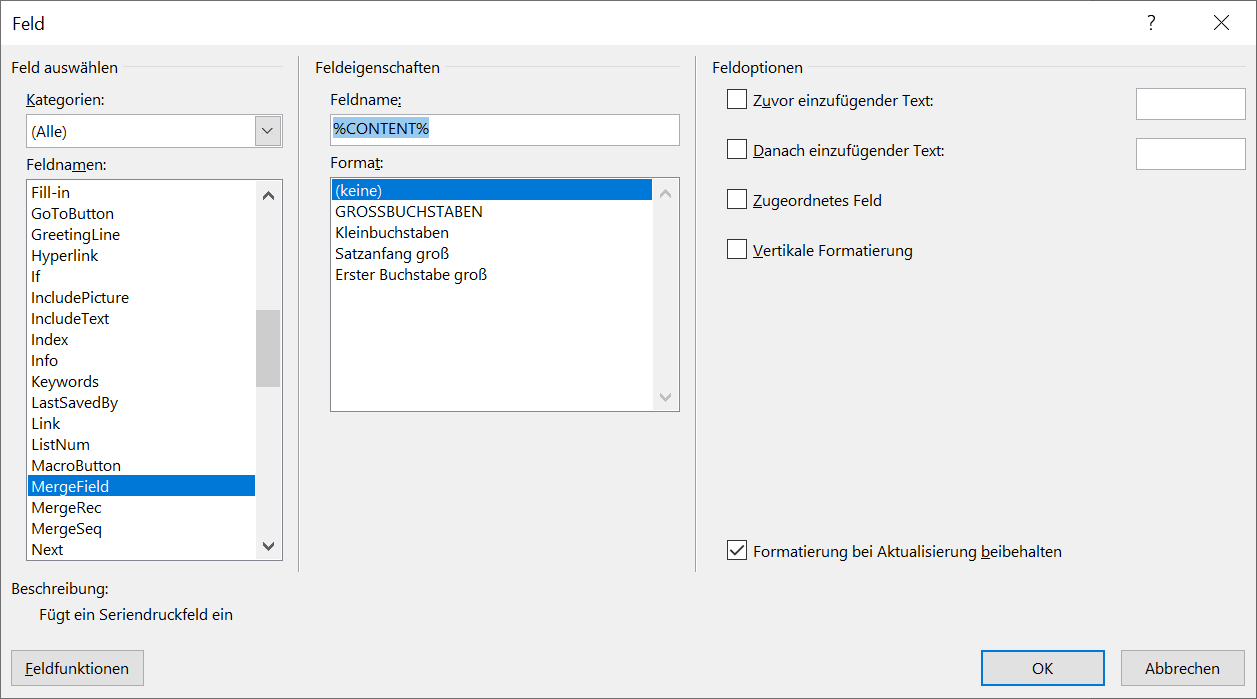
- Choose “Field” to open the “Field” dialogue
- Choose “Merge Field” from the list to the left
- Click on the input box “Field name” under “Field properties”
- Type in the placeholder name surrounded by “%”
Alternatively, also in Word you can insert a text box as an Export Placeholder.
Excel Placeholders
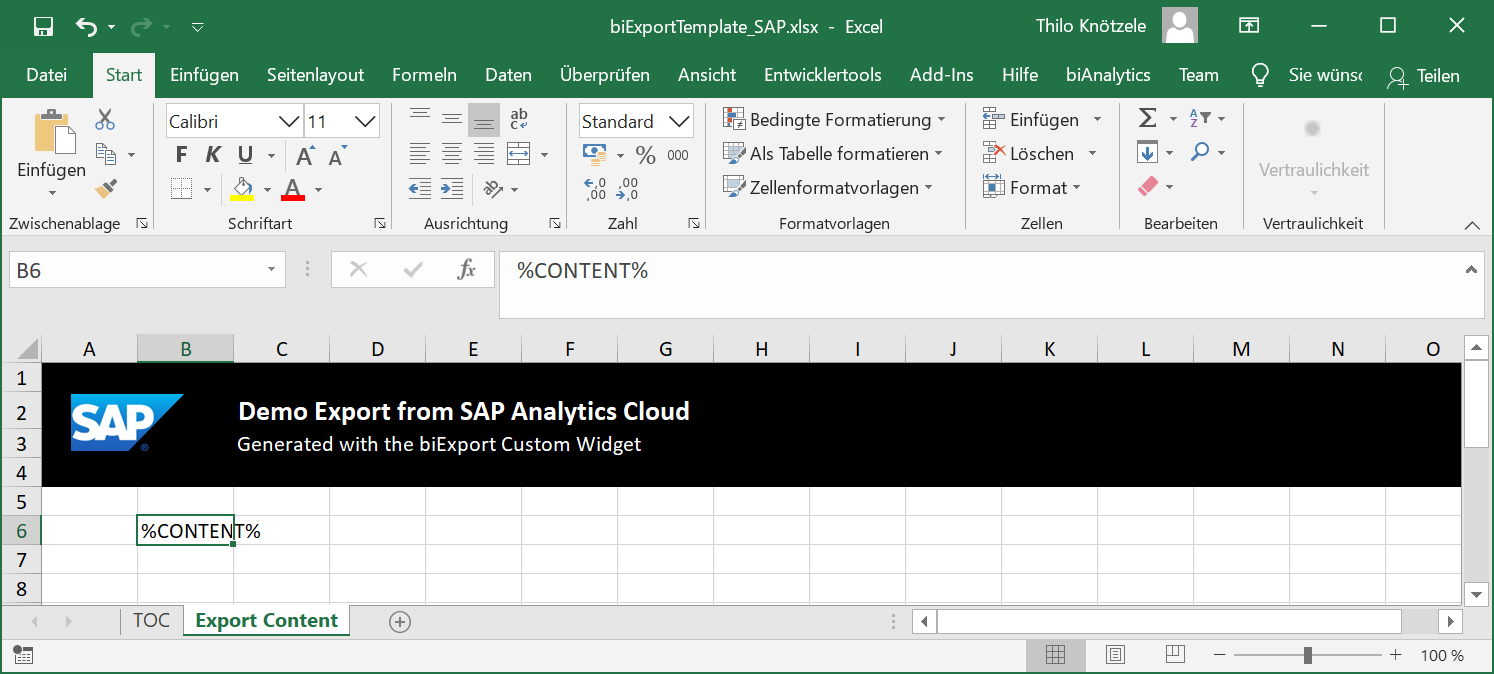
You create a placeholder in Excel simply as follows:
- Select a cell
- Type in the placeholder name surrounded by “%”
Generic Placeholders & Templates
The easiest way to export is with a “Generic Template”. This is an Export Template that can be used for all your analytical applications without changes. In a generic template, you only type in CONTENT as placeholder name, surrounded by "%".
This means that all “content”, which is provided by the analytical application, is placed at the position of the placeholder. The “content” is selected via the “Visual Components” property in the biExport Widget or in the “Select Components” user dialogue.
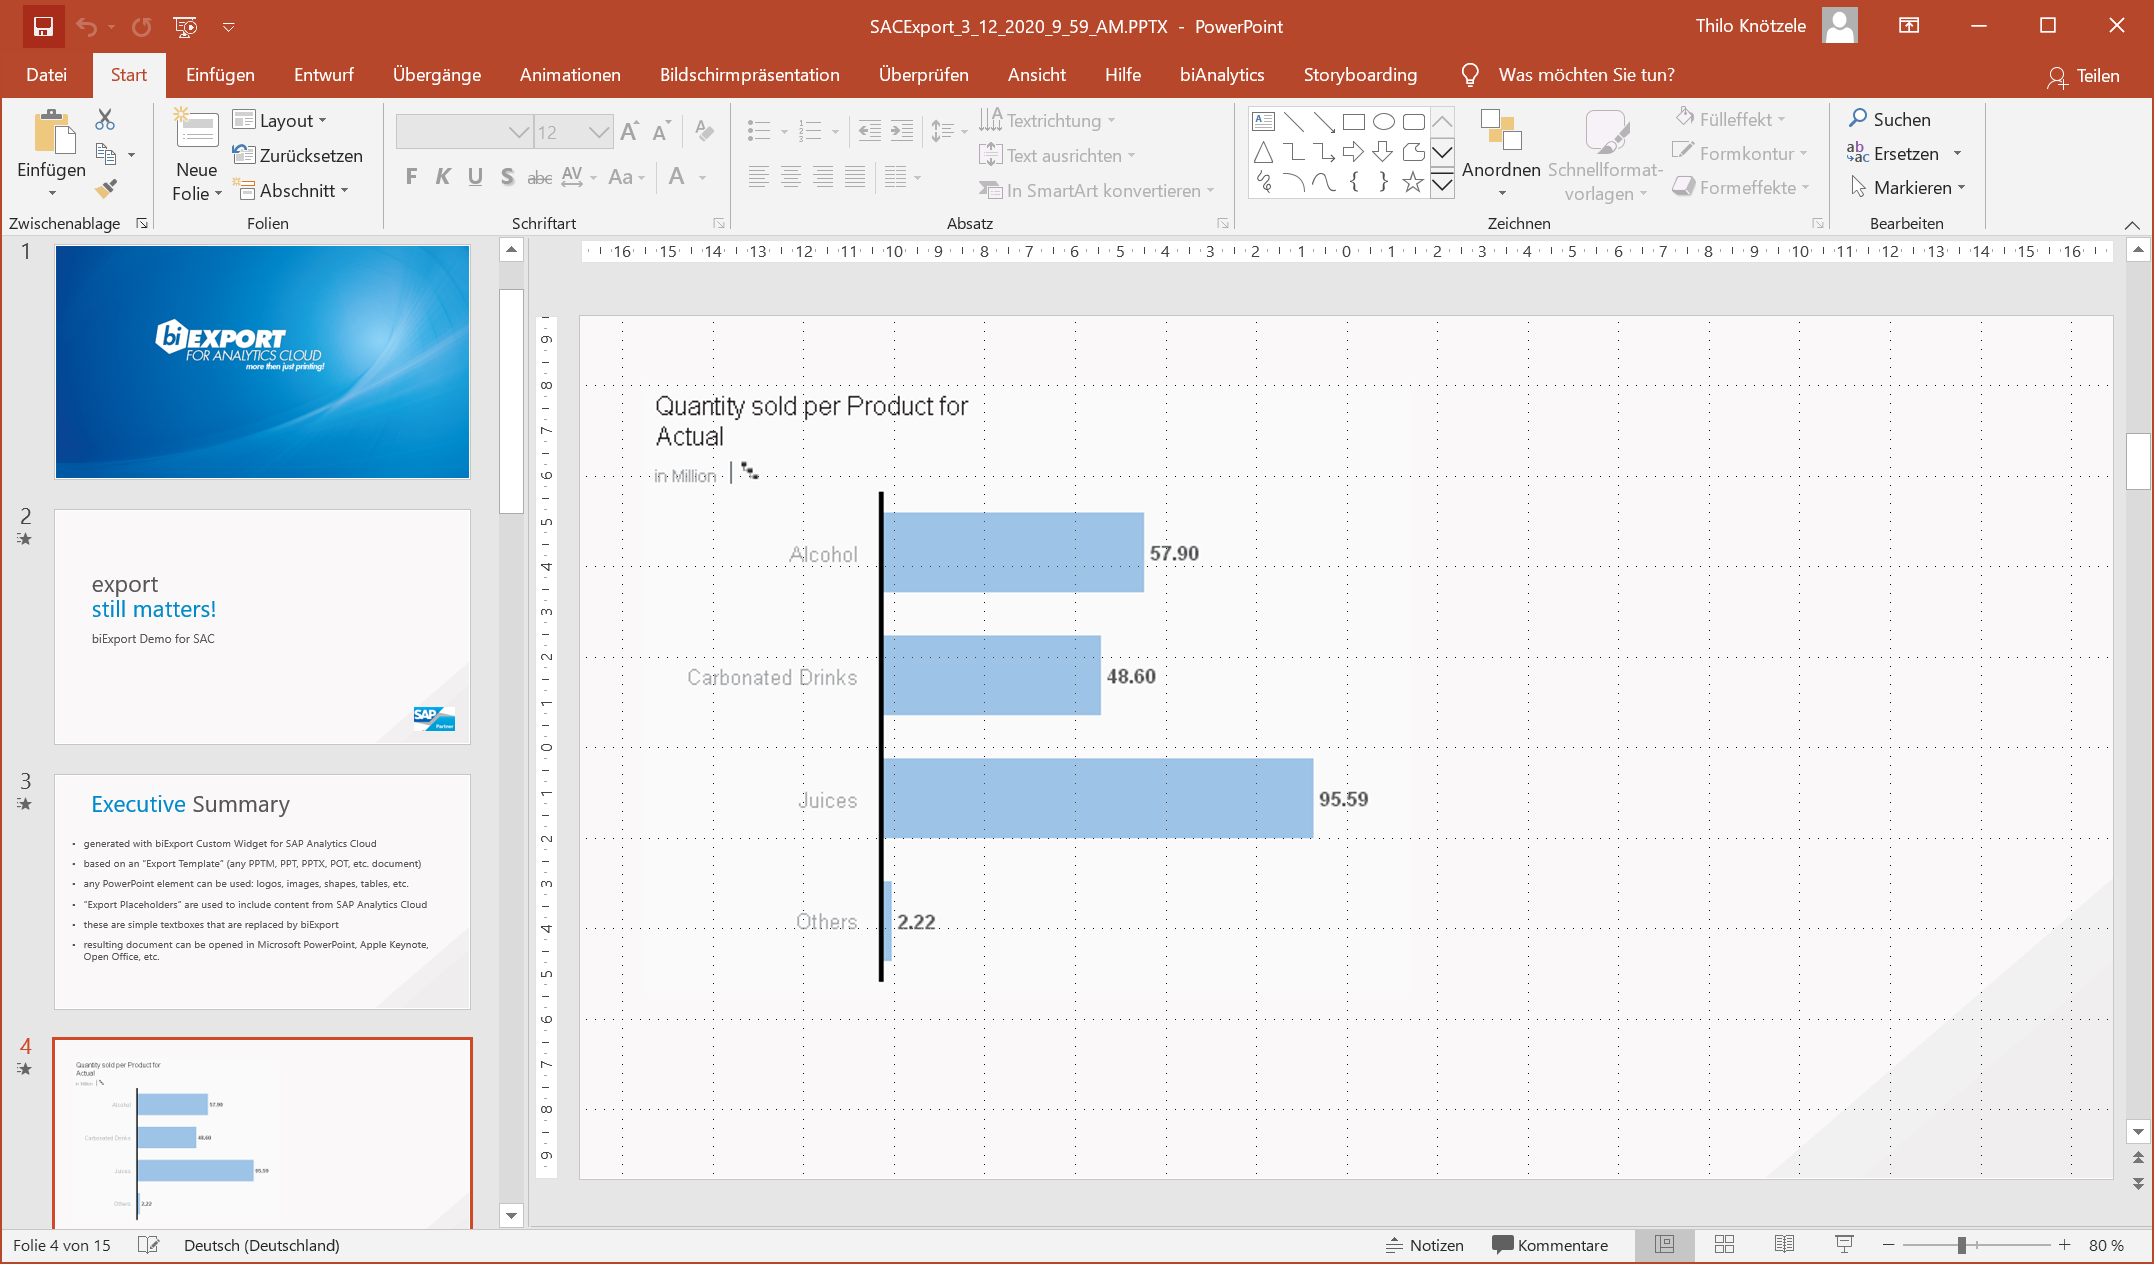
For PowerPoint Exports, either all selected widgets keep their relative sizes and positions and are placed into the same placeholder, or the slide holding the placeholder is repeated for each widget. This is controlled via the “Separate Slides” property in the biExport Widget:
For Word Exports all selected widgets are placed after each other:
For Excel Exports the worksheet holding the CONTENT placeholder is copied for each selected widget:
Special Templates
The drawback of "Generic Templates" is that the export result certainly will require some rework and enhancements. In case you want to create reoccurring exports, such as:
- Monthly briefing books
- Management presentations
- Marketing presentations
... users usually have elaborated requirements on these documents. At the same time, you certainly do not want your end users to have to do the same rework multiple times.
A “Special Template” is a document that is designed to fit the requirements for exactly one export scenario. You can
- Include all static elements and texts for this special scenario
- Choose a widget’s exact place in the document
- Layout widgets next to each other on the same page or slide
To reference a Widget directly in the Expot Placeholder, you look up its name in Analytics Designer...
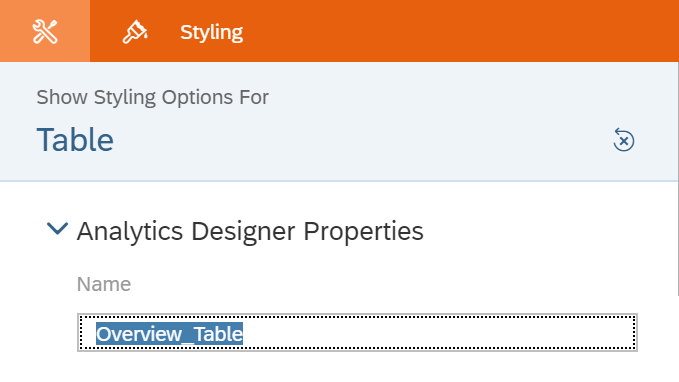
... and you type it in to the Export Placeholder:
Control rendering of the Widget
By default, biExport always creates images of the Widgets. You can also control how the Widget is rendered into the export document. This is done with Suffixes to the placeholder.
Can be used e.g. with tables, text and input fields, dropdown boxes and data-point charts
Can be used e.g. with tables, text and input fields, dropdown boxes and data-point charts
(see full instructions here).
The Export Service also allows to render Widgets conditionally depending on certain report ids or URL parameters:
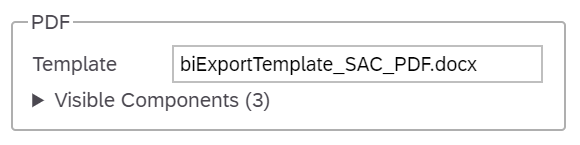
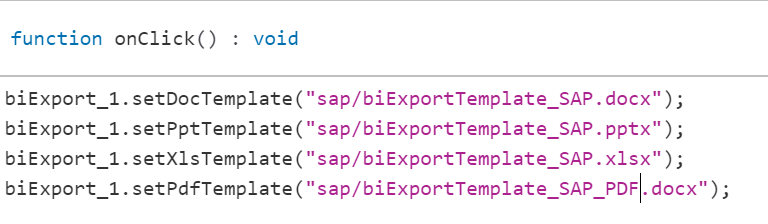
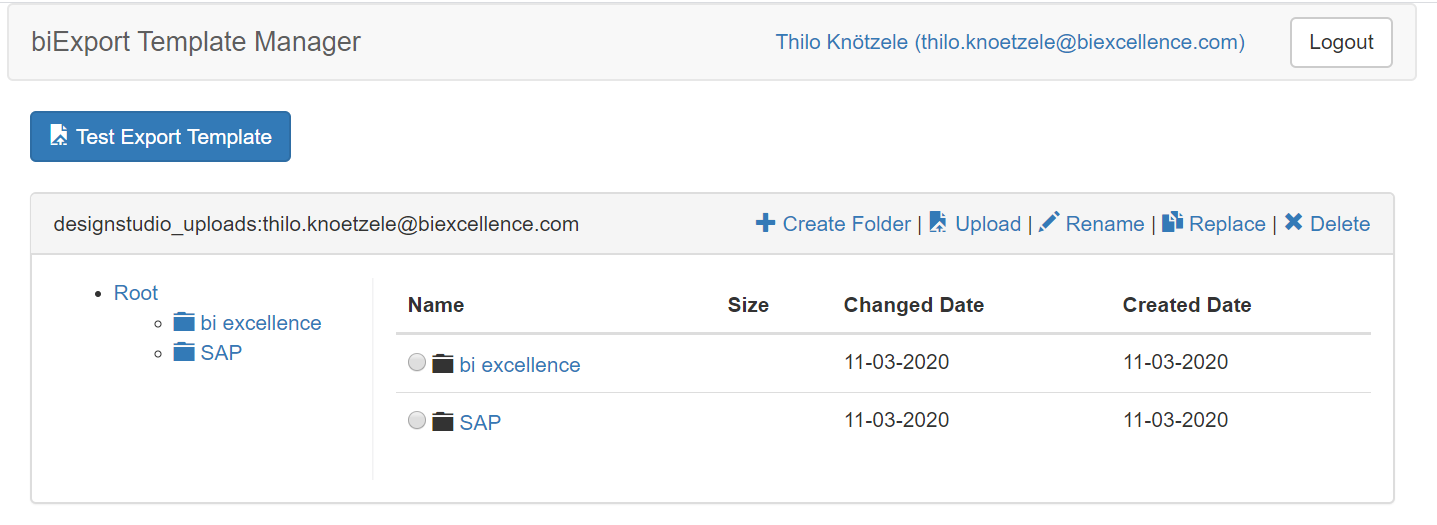
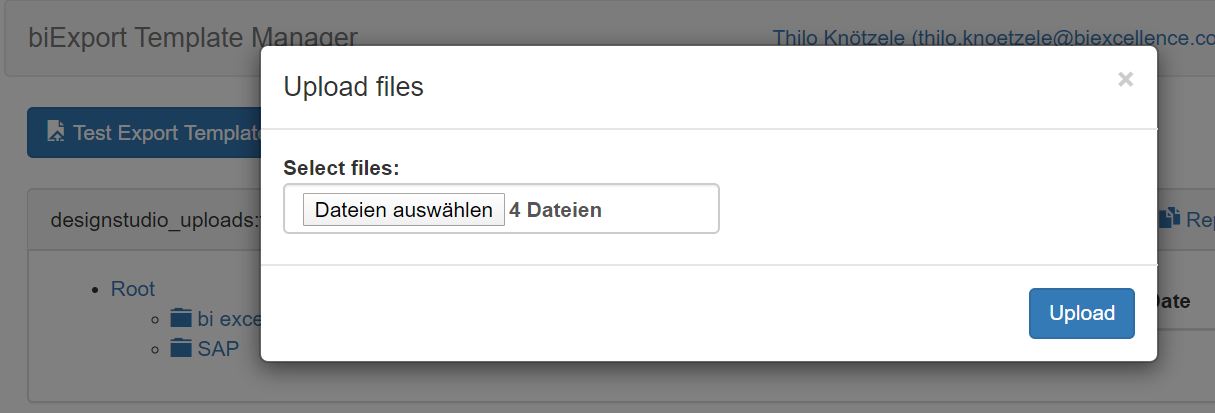
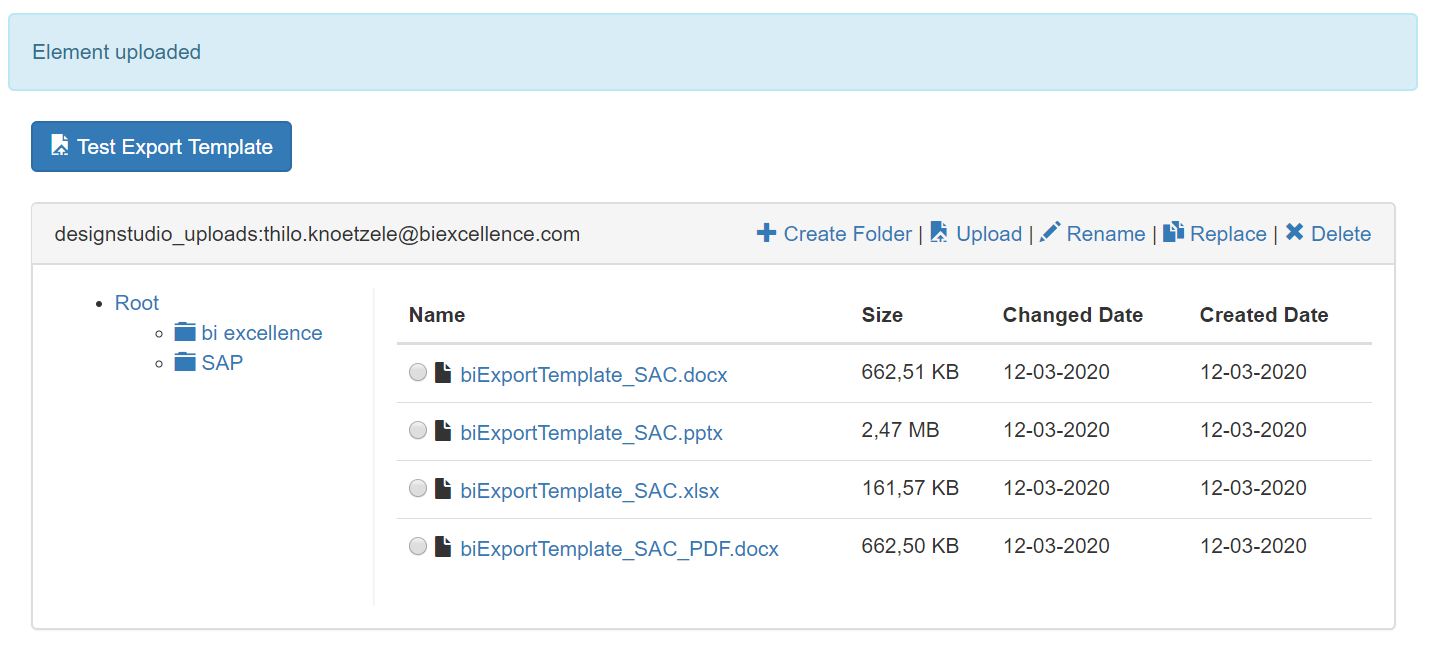
Several conditions can be provided separated by ";". To upload your Export Template to the biExport service, open the following URL in your web client: https://designstudioexport.biexcellence.com/export_resources/templatemanager.html If you are using an on-premise installation of the biExport service, simply replace “designstudioexport.biexcellence.com” with the host name of your export service. You are asked for your user credentials – if you have not done yet, visit www.biexcellence.com/register and use them for the login. You will be forwarded to a dropbox like account, which allows you to upload templates, rename and organize them in folders. Now you are almost done! Simply enter the name of the document, which you have uploaded in the last step, in the “Template” parameter of the biExport Widget (e.g. "SAC_Template.pptx") If you use folders, we recommend to enter the whole path including its parent folders (e.g. "bi excellence/SAC_Template.pptx"). Of course, you can also use the following script functions to toggle the used template dynamically!
Upload Export Templates

Use Export Templates